Assignment 3 : Original Tutorials
Tutorial - The Bowl
This tutorial will explain and provide the necessary steps to create an aluminium bowl. Throughout the tutorial there will be emphasis on the use of tools that inflict minimal wear to the material. Ultimately, a focus towards the care of materials to ensure minimal surface imperfections for a clean end result.
Materials Required
1 x Aluminium Sheet
Tools Required
1 x Compass Scribe
1 x Sheet Material Guillotine
1 x Tin Snips
1 x Sheet Material Guillotine
1 x Tin Snips
1 x Nylon Mallet
1 x Sandbag
1 x English Wheel
1 x Sand Paper / Board


Place the aluminium sheet on top of the sandbag and begin making a depression in the center of the surface, in creating the bowl, the surface will be worked from the inside slowly receding to the outer edge.


The key point here is to remain patient as you build the shape, don't be tempted to overwork the material and in terms of the force applied to the mallet you shouldn't be overly exerted.


Stage 1
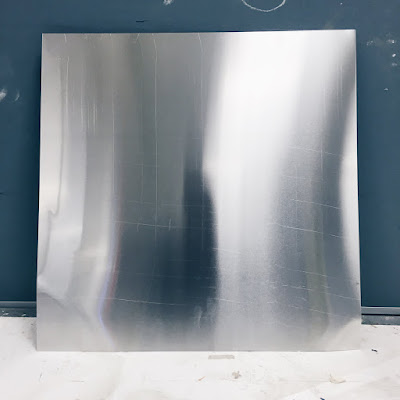
Select a sheet of aluminum that will be used to cut the bowl template. If possible, using annealed aluminum would provide the best results as it makes the material more malleable which is beneficial during forming.

Stage 2
Upon selecting the sheet of aluminium, use a compass scribe to begin inscribing a circle template onto the sheet.


Stage 3
After inscribing the template, the sheet can be cut to the determined shape. In this part of the process, the guillotine is used, though it is not entirely necessary as the sheet can be cut entirely with the use of tin snips.


Stage 4
The sheet has now been roughly cut to shape and now the excess edges need to be trimmed with the use of tin snips. When trimming the edge, ensure that the tin snip is always cutting from the deepest part of the blade to prevent a jagged edge. In addition, don't worry about cutting too close to the edge as this will be sanded down in the later stages for a cleaner finish.


Stage 5
The sheet is now cut to shape, which now leads to the initial stages of forming the bowl. The tools required during this stage include the Nylon Mallet, Sandbag and the English Wheel. These tools will be used intermittently between each other, providing in essence the foundation for shaping the bowl.

Before using the sandbag ensure that there is a depression in the center as this will provide the depth for the bowl. This can be done by simply patting the area down to shape or using the mallet to indent the center.

Place the aluminium sheet on top of the sandbag and begin making a depression in the center of the surface, in creating the bowl, the surface will be worked from the inside slowly receding to the outer edge.


The key point here is to remain patient as you build the shape, don't be tempted to overwork the material and in terms of the force applied to the mallet you shouldn't be overly exerted.
Stage 6
After working the center outwards thoroughly with the use of the nylon mallet and sandbag the English Wheel can be implemented into further shaping the material. Before using the English Wheel, precautions should be taken to make sure that the correct wheel attachment is selected in order to achieve the desired result, for the purposes of the bowl the wheel with the most rounded curve will be the most efficient choice.


In working the wheel you want to use a back and forth rocking motion, ironing out imperfections and ensuring an even distribution across the material.
Stage 7
This part of the stage is where patience cant be emphasized enough, the piece will be taken back and forth between the sandbag and wheel, using two tools together to attempt to create the perfect curvature within the bowl. Other methods are also possible in this stage, however, from experimentation the use of these tools provide the least amount of damage to the material ensuring a more refined finish.


Using the English wheel, you want to iron out the 'Kinks' created from the mallet work by using two hands to work the material in a back and forth motion.


As you work the material, gradually get closer to the edge. The dynamics of shaping this bowl means that if you want a deeper draw, you have to work the center more and vice versa by working the outer perimeter.


In addition to these tools, as the shape begins to form you can use your hands to simply bend areas to assist in conforming more the shape you desire.
Stage 8 - Completion
Through following the stages and being patient with the process you should be capable of finishing the bowl with fairly consistent curvature and by using the tools prescribed you would have ended up with a result possessing minimal surface wear to the overall material. In addition, the completed bowl can go through a process of sanding and polishing to further refine the surface finish to a quality that you desire.


Comments
Post a Comment